Media library
One place for every image and video you've uploaded. The core idea is upload once, use everywhere.
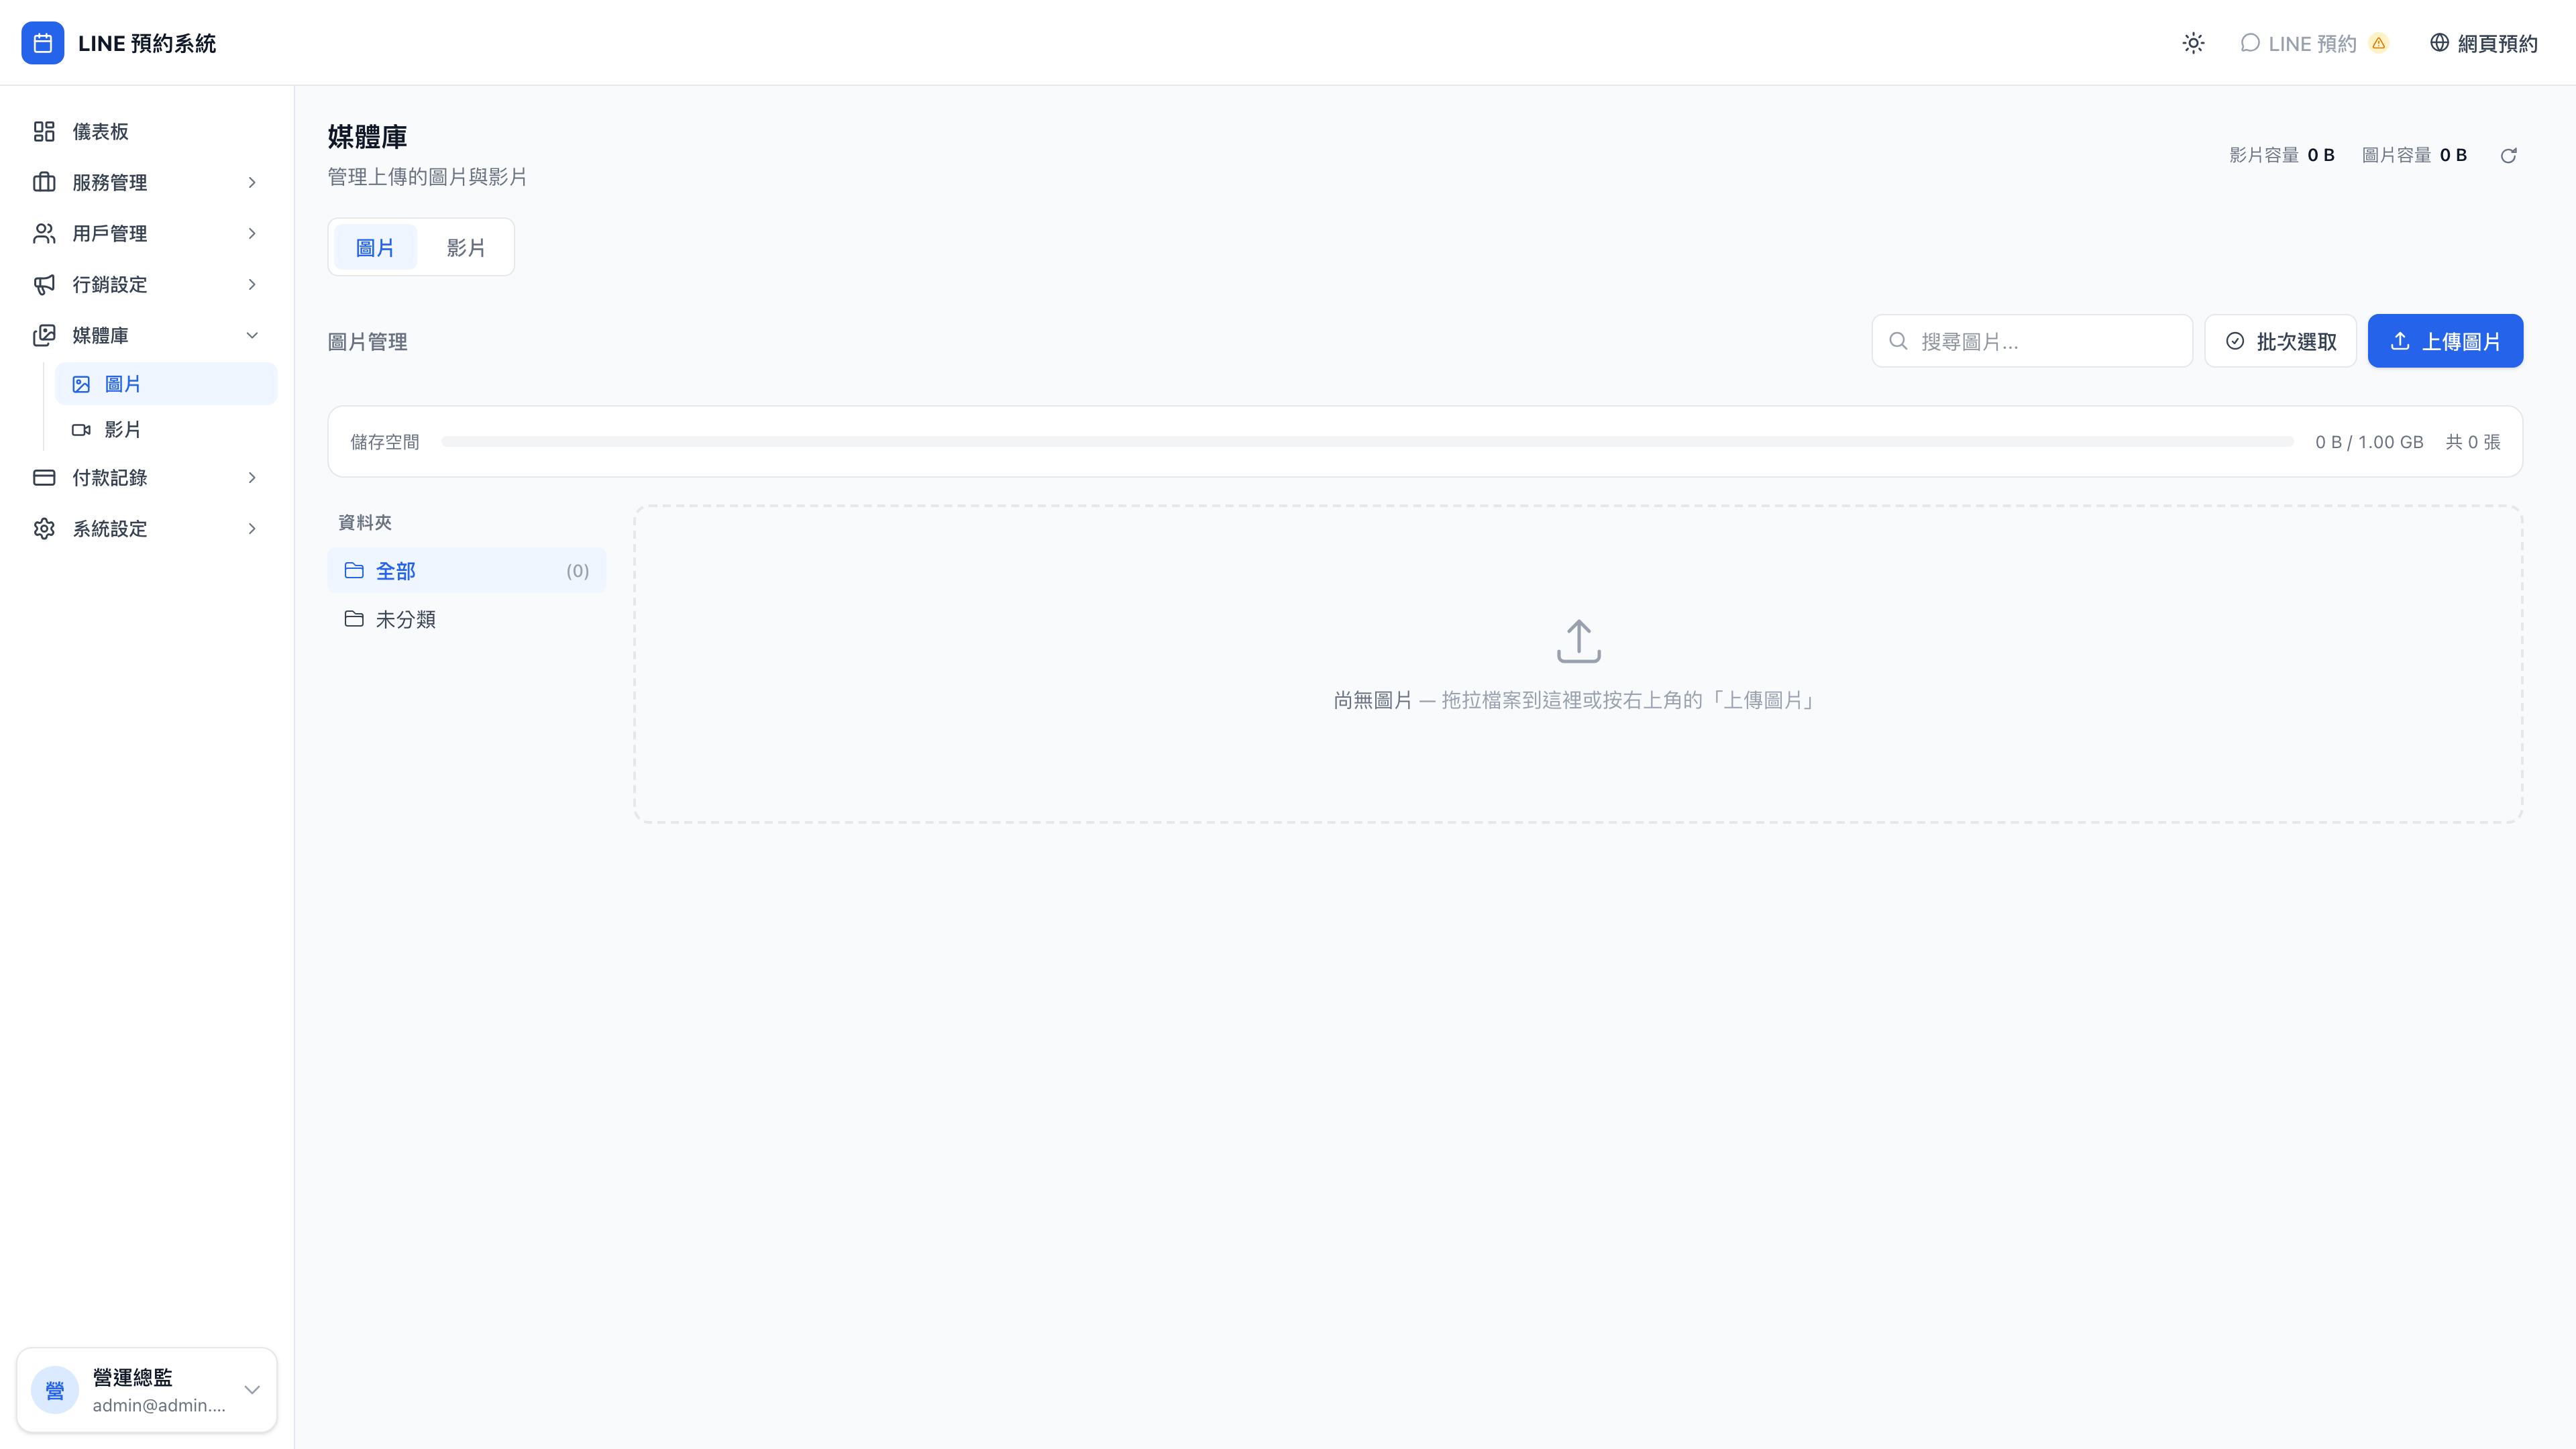
The images tab:
The videos tab:
Typical uses
- Upload a photo of your office frontage → use it as the main image on your public home page
- Upload professional photos of consultants or therapists → use them as provider profile avatars
- Upload case study screenshots or post-consultation testimonials → use them as service covers or marketing assets
Why have a media library?
Use case: with and without one
Without a media library (the original architecture):
- A consultant's avatar is uploaded once on the Providers page
- The business's main image is uploaded once under System settings
- A service cover is uploaded again elsewhere
- Every location is independent, and photos are scattered
With one:
- Upload every photo to the media library once
- Other pages reference it via choose from library
- Changing a photo means changing it in one place, and everywhere referencing it updates
It's effectively an asset hub for your business's visual material — and new features added later can draw from the same hub.
First use (initialization)
The first time you open the media library you see a choose a storage region screen. The reason: media files aren't stored in your main database but on a global CDN, so images load quickly for clients. The system needs to create dedicated storage for you on the CDN first.
- Choose the region nearest you (users in Asia should choose Singapore)
- Press Get started, and the system creates the storage automatically (about 5–10 seconds)
- From then on the media library opens straight to the main interface and never asks again
Question: Can I change the storage region if I picked wrong?
You can, but it's best not to lightly. Changing region means migrating every uploaded file, and clients may see broken images for a few minutes during the move.
If your clients are mostly in Taiwan, Singapore is the best choice (lowest latency). Having picked wrong, only change for a compelling reason.
Uploading images and video
The media library has Images and Videos tabs at the top left. Choose a tab, then press Upload at the top right.
- Images: 20 MB limit, common formats (JPG, PNG, WebP) supported, usable immediately after upload
- Videos: no size limit, but the CDN processes them after upload (roughly 30 seconds to a few minutes) before they become playable
Use case: uploading professional imagery
Every time a consultant joins, a service launches or the office is redecorated, come here and add material:
- Media library → Images tab
- Press Upload and choose the photo
- Once uploaded, open it and give it a title ("Sophia Lee · spring 2026 portrait")
- File it in the right folder (
team, say)
Material worth uploading in other industries:
- Counseling practice: photos of the therapy room (conveying safety and privacy)
- Cram school: students interacting in class (with parental consent)
- Aesthetics: before-and-after comparisons (note: medical advertising is regulated — take legal advice first)
- Yoga studio: the space, plus the teacher demonstrating poses
Folders
The folder list runs down the left. You might create:
banners— home page carousel imagesteam— portraits of consultants, therapists and teachersservices— service coversworks— case studies and portfolio
Open any image's detail page to assign it to a folder.
Question: Is it fine not to use folders?
Yes. Everything sits in Uncategorized by default. If your business is small (30–50 photos), folders aren't necessary — scrolling the list finds things.
Folders only really earn their keep past 100 files, where filtering becomes valuable.
Where can I "choose from library"?
Currently supported integration points:
| Location | What you choose |
|---|---|
| Business home page image under system settings | Your main visual |
| Provider avatars under providers | Photos of consultants, therapists and teachers |
| Your own avatar under My settings | The signed-in user's avatar |
More locations — service covers, campaign posters — are coming.
Note: deleting media breaks images
If an image is already in use as your business's main visual and you delete it from the media library, your home page will show a broken image.
Before deleting, confirm:
- Nothing else references this image
- Or a replacement is already in place
If you're unsure, don't delete — keeping it costs almost nothing.
Editing media details
Clicking any image or video opens a drawer on the right where you can:
- Change the title (the name you'll recognize)
- Move it to another folder
- See the file size, format and upload time
- Copy the URL (to share, or use on an external website)
Video statuses
An uploaded video passes through several states:
| Status | Meaning |
|---|---|
| Uploading | The file is transferring to the CDN |
| Processing | The CDN is transcoding (for different resolutions and mobile formats) |
| Ready | It plays normally |
| Failed | The upload or transcode failed; upload it again |
Question: How long does video processing take?
- Clips under a minute: around 30 seconds
- Around 5 minutes: 2–3 minutes
- Over 10 minutes: possibly more than 5 minutes
If it's still processing after 10 minutes, it has most likely stalled — delete it and upload again.
Use case: using video on your home page
Compared with a static photo, a 30–60 second video as the main visual on your home page noticeably increases how long clients stay and how well the page converts.
Content suggestions:
- Business consultant: a 60-second introduction from the principal, plus what makes the service distinctive
- Counseling practice: a pan across the space with a warm voiceover
- Cram school: clips of classes and teacher-student interaction
- Aesthetics: a timelapse of the treatment process (taking care not to show patients)
Once filmed, upload it to the media library and choose it as your main visual under System settings → Business home page.