General settings
General settings governs how your brand appears externally: name, description, logo and desktop guidance text. These settings take effect in four places at once — the top left of the admin, the browser tab, the LIFF signup pages, and social share cards.
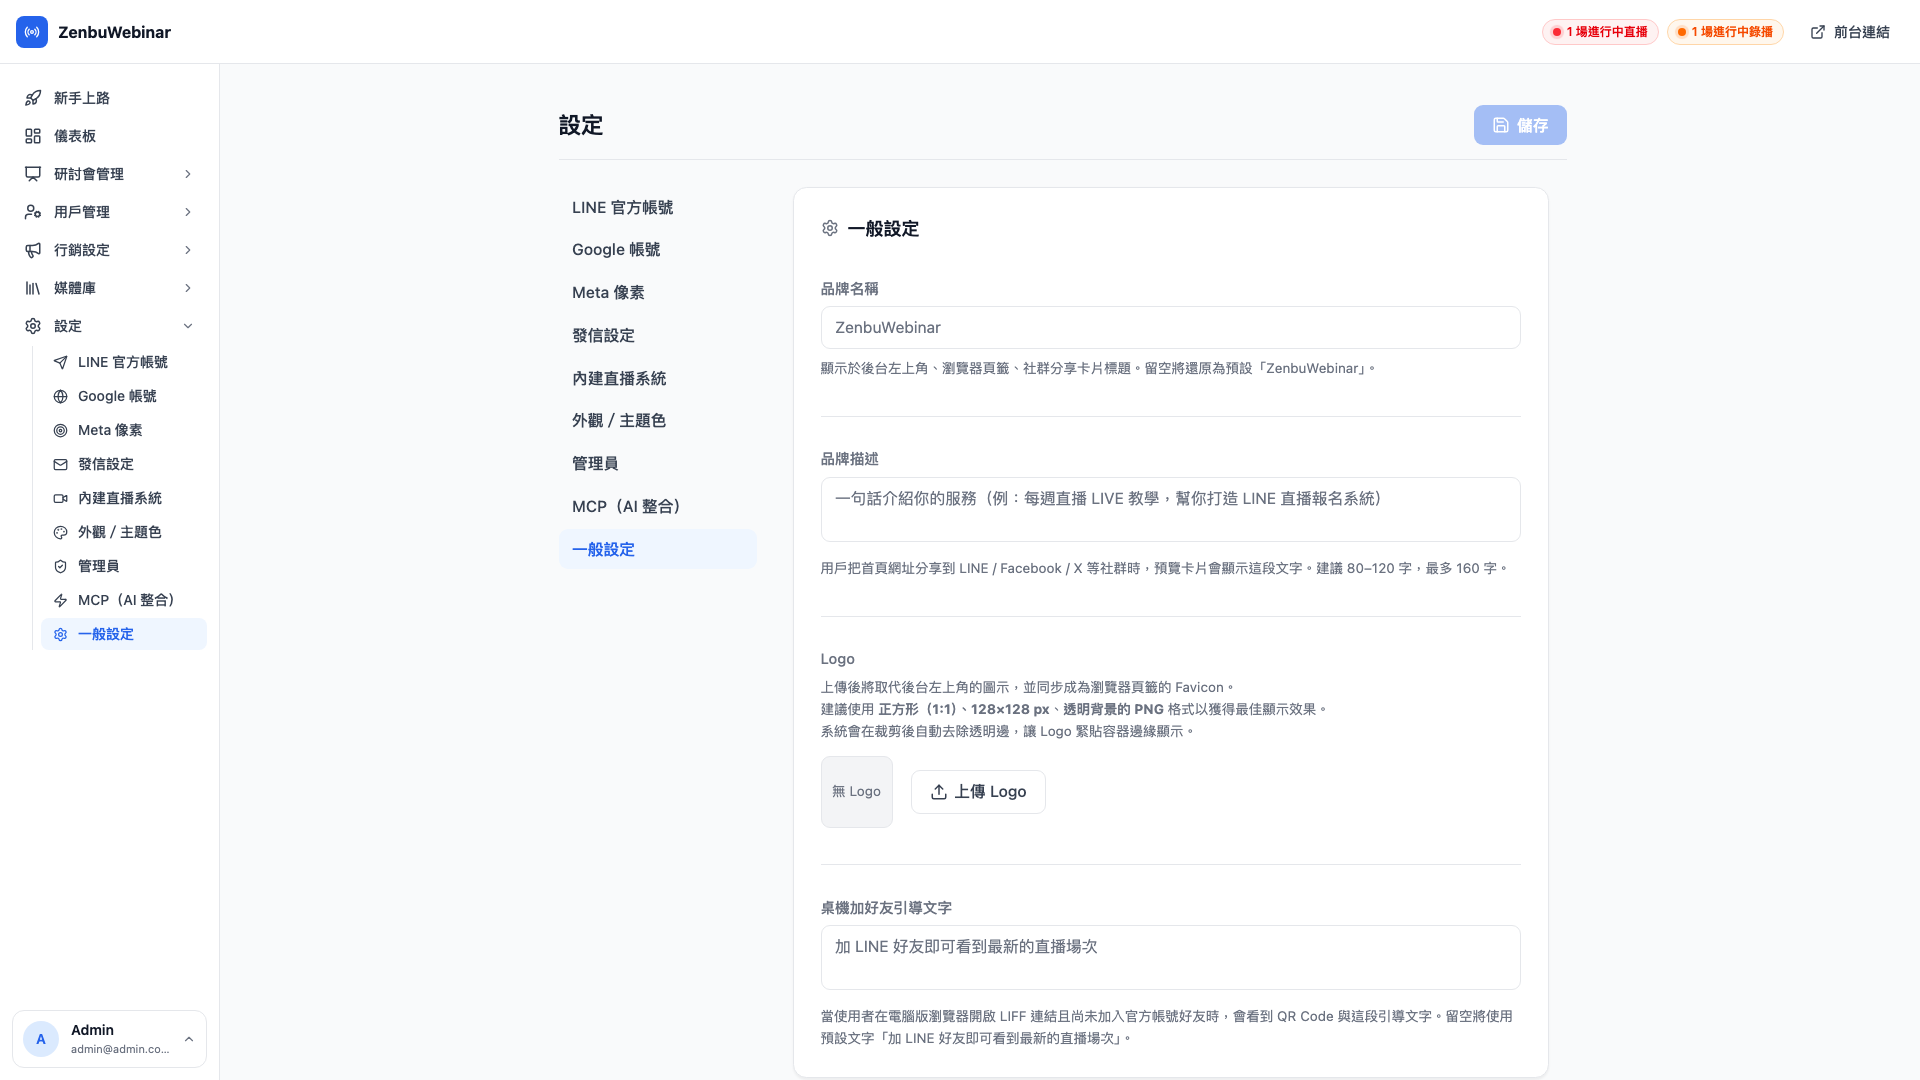
Brand name
Enter your brand name (AI × E-commerce Growth Camp, say) and these all update together:
- The sidebar header at the top left of the admin
- The browser tab title (
<title>) - The social share card title (OG title)
- The top of the LIFF signup page
Left blank, the system shows the default zenbu webinar.
Use case: the brand name syncs immediately
Cheng-han types "AI × E-commerce Growth Camp" into this field and presses save; every client updates automatically within a second or two. The next time a student opens LIFF the title is the new name, with no cache to clear and no refresh needed.
Brand description (for social sharing)
When someone pastes your site or a session link into LINE, Facebook or Twitter, the text under the preview card is what you enter here.
Recommended format:
- 80–120 characters is ideal (it fits both search engine and social previews)
- 160 characters maximum (beyond that it's truncated)
- One sentence describing the value you provide
Question: Where does the description appear?
Two main places:
- Social previews — the preview card when a link is pasted into LINE, Facebook or Twitter
- Search results — the description shown when your site appears in Google
Logo upload
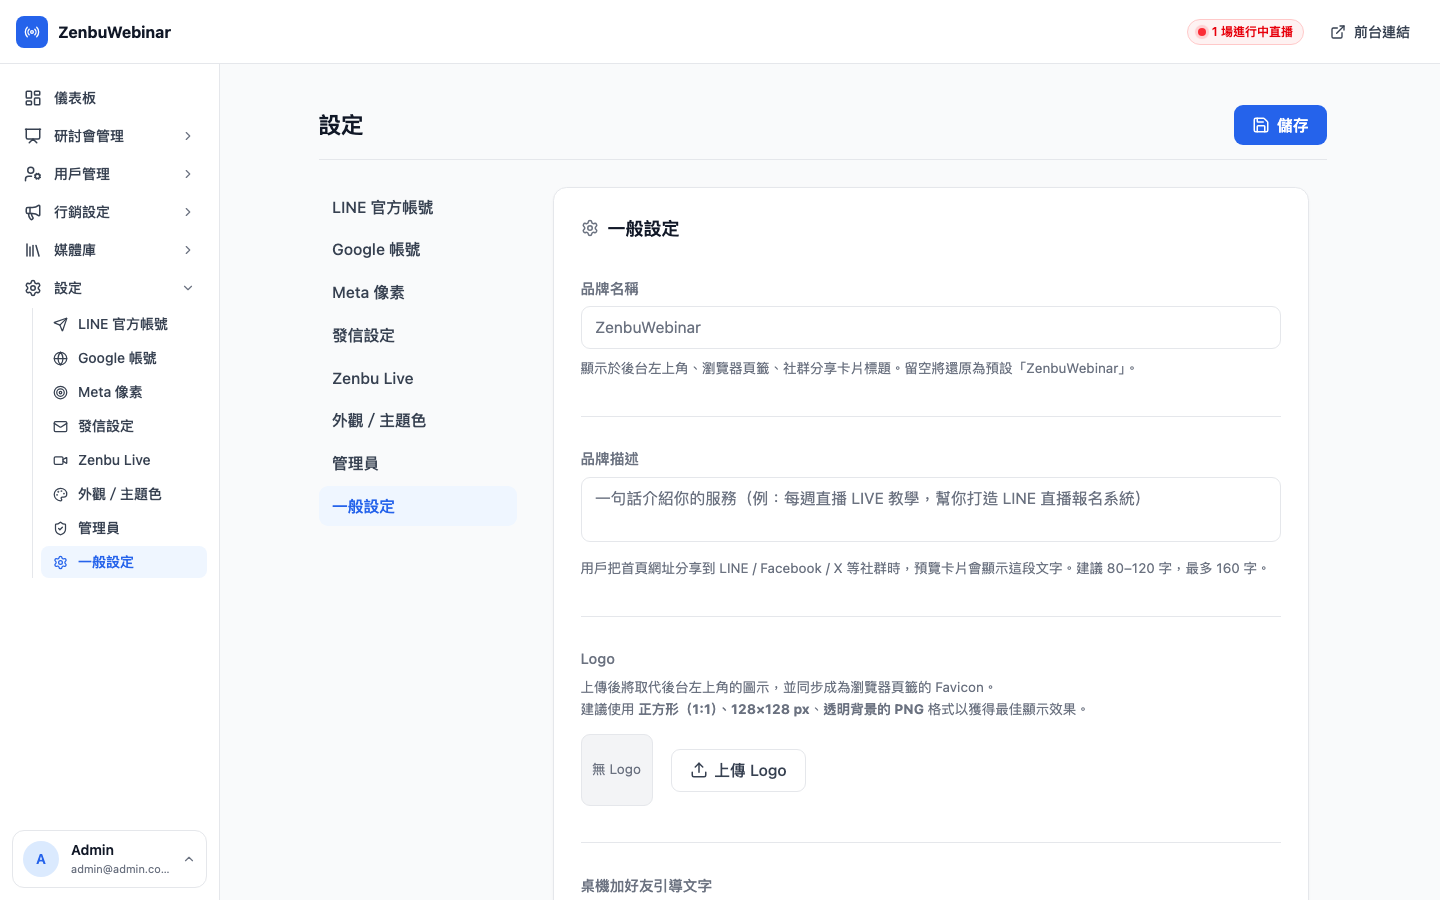
Your logo appears in:
- The top left of the admin (replacing the default zenbu webinar icon)
- The browser tab favicon
- The top of the LIFF signup page
- The thumbnail on social share cards
Recommended specifications
- Square, 1:1
- 128×128 px or larger
- PNG (transparency supported)
- Under 2 MB
The upload process
- Click Change logo (or Upload logo the first time)
- Choose an image file
- A cropping frame appears — position the logo within it, dragging the corners to adjust
- Press Confirm → the image uploads and is set as your logo
Note: a transparent PNG works best
The dark sidebar and the light signup page have different background colors, so a logo with an opaque background (white or colored) may look out of place somewhere. A transparent PNG is the safe choice.
Question: What happens when I remove the logo?
Pressing × Remove logo clears the setting, and every location reverts to the default zenbu webinar icon. The uploaded file itself stays in the media library and isn't deleted.
Desktop add-friend guidance text
LIFF is designed primarily to be opened on a phone inside the LINE app. But people sometimes click a signup link on a desktop, in which case the system shows an "open this on your phone" guidance screen.
This field sets the guidance text shown on that screen.
Use case: Cheng-han's desktop guidance
His setting reads: "Scan the QR code with your phone to add the AI × E-commerce Growth Camp LINE Official Account, where you'll find every webinar and its signup link 👉"
A student clicking the link on a computer sees that text alongside a QR code, reaches for their phone, and lands in the correct signup flow.
The default text is a generic "please open this page on your phone" — it's worth customizing it to your brand's voice and a clearer call to action.
Remember to save
Every field on this page takes effect only after you press Save at the top right. The logo is the exception: it's saved as soon as the upload completes, with no need to press Save again.